Routing
In this section, we’ll see how to use the React Router with Apollo to implement navigation!
Install dependencies
Let’s start by adding the dependencies we’ll need.
Create a Header
Before moving on to configure the different routes for the
app, we need to create a Header component that will hold
the navigation links.
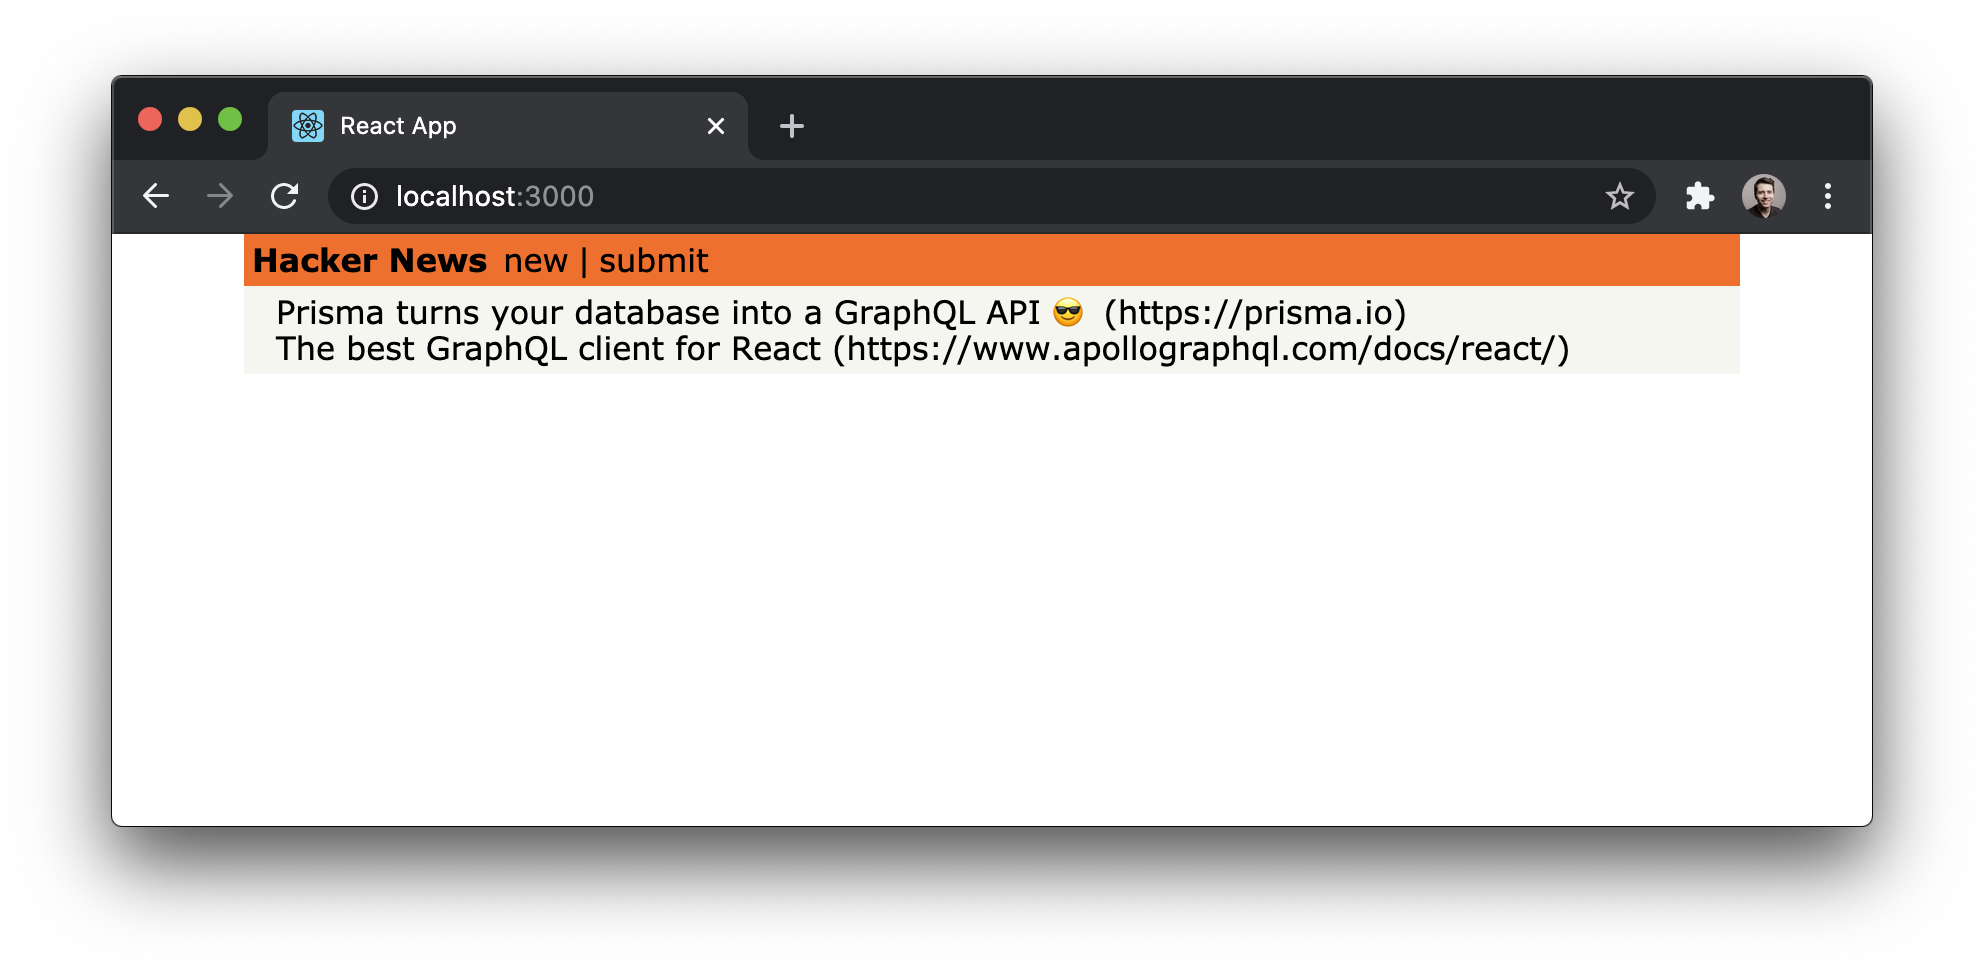
The Header component currently just renders two Link
components that can be used to navigate between the
LinkList and the CreateLink components.
Don’t get confused by the “other”
Linkcomponent that is used here. The one that you’re using in theHeaderhas nothing to do with theLinkcomponent that you wrote before, they just happen to have the same name. This Link stems from thereact-router-dompackage and allows us to navigate between routes inside of your application.
Setup routes
Let’s configure the different routes for the app in the
project’s root component: App.
We now need to wrap the App with BrowserRouter so that
all child components of App will get access to the routing
functionality.
If we run the app again, we can now access two URLs.
http://localhost:3000/ will render LinkList and
http://localhost:3000/create renders the CreateLink
component we created in the previous section.

Implement Navigation
To wrap up this section, we need to implement an automatic
redirect from the CreateLink component to the LinkList
component after a mutation is performed. To do this, we can
use the onCompleted function that is provided by Apollo
when mutations are performed.
After the mutation completes, React Router will navigate
back to the LinkList component that’s accessible on the
root route: /.
Note: With our current setup, we won’t see the newly created
Link, we’ll just redirect to the main route. We could refresh the page to see the changes made. We’ll see how to update the data after the mutation completes in theMore Mutations and Updating the Storechapter!